Start here
From nothing to a live site
Your site is not reachable until you publish it. Everything before that is free, private, and reversible.
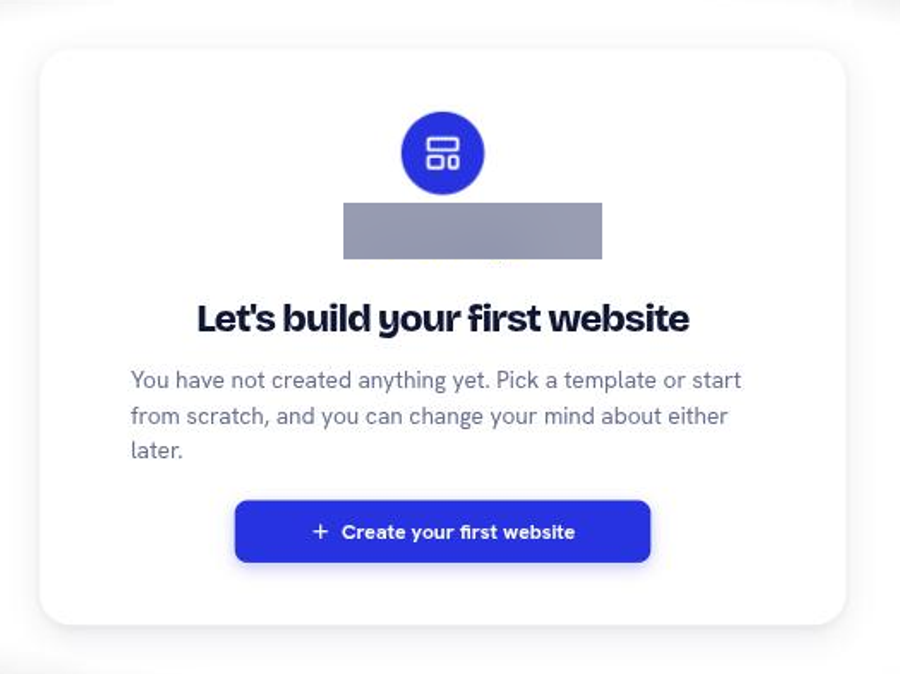
Creating a website takes three answers: what domain it will use, which template it starts from, and whether you are ready to put it in front of anyone. The Console asks them in that order and creates nothing until the last step.
What actually happens when you sign up
An account and a website are separate things. The account is you. A website is a workspace with its own content, its own design, its own build history, and its own access list. One account can hold several websites, and the dropdown at the top of the sidebar switches between them.
Building and previewing cost nothing and need no card. Payment starts when you publish to a real domain.
Create your first website
1
Open the Console at inboundsavvy.com/console and sign in with Google or an email address.
2
Click Create Website. The wizard shows three steps across the top: Domain, Template, Done.
3
Enter the domain the site will use. A domain you already own works. If your site currently lives somewhere else and you are moving it here, enter that same domain.
4
Click Continue. Nothing has been created yet: the hint under the field says so, and it is accurate.
5
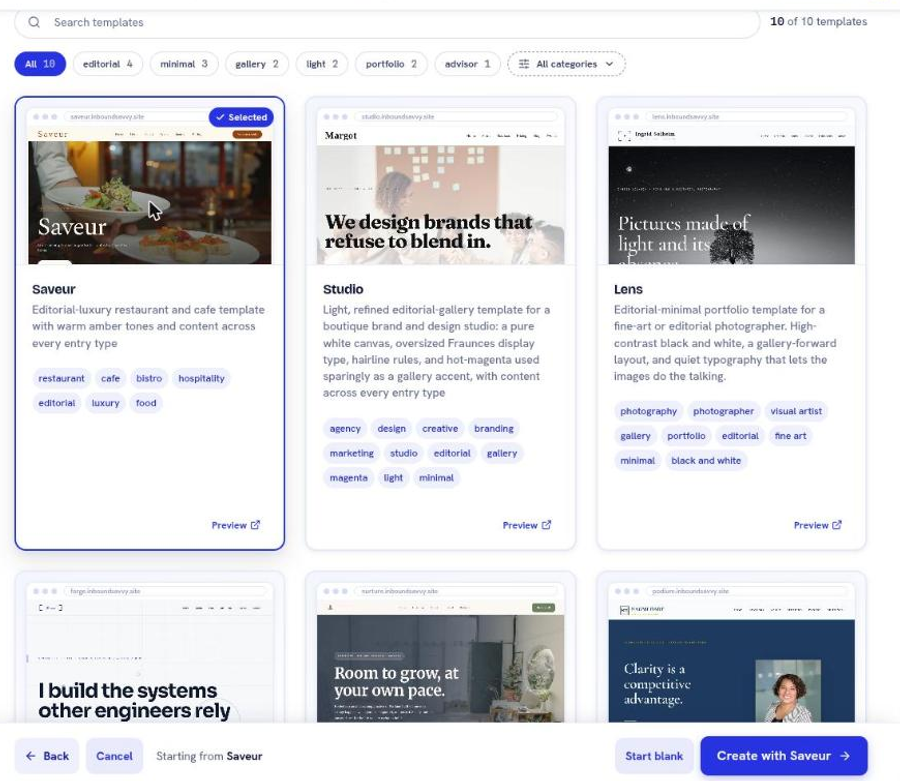
Pick a template, or click Start blank. Use the category filter to narrow the gallery, and open a template in a new tab to look at it properly before committing.
6
Click Create with your chosen template. The site is created now.
7
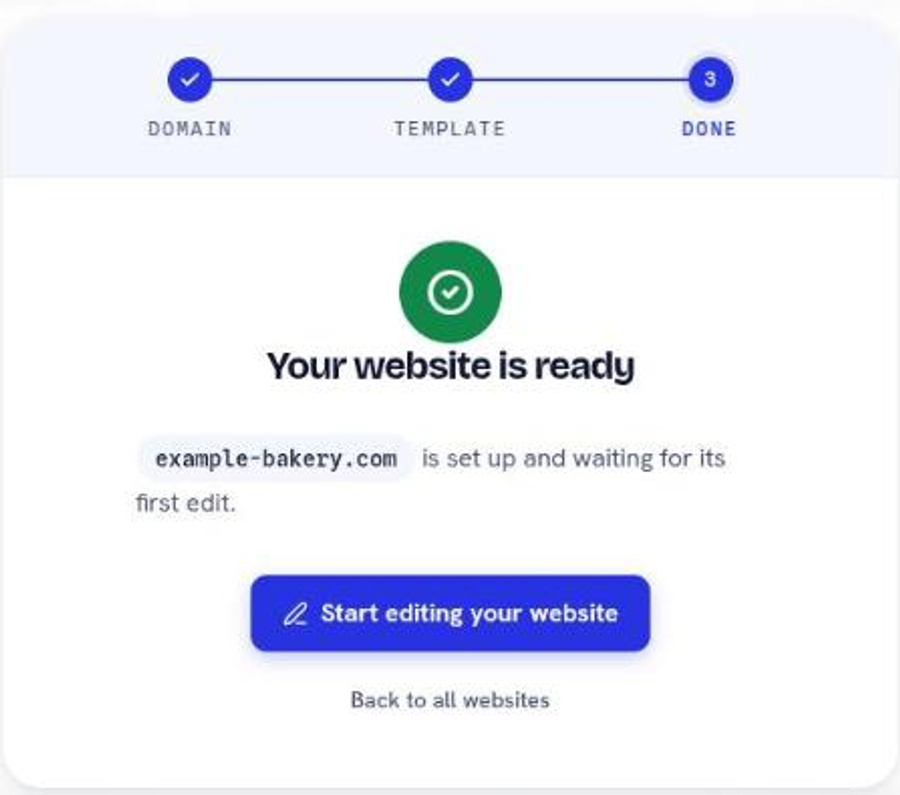
Click Start editing your website.
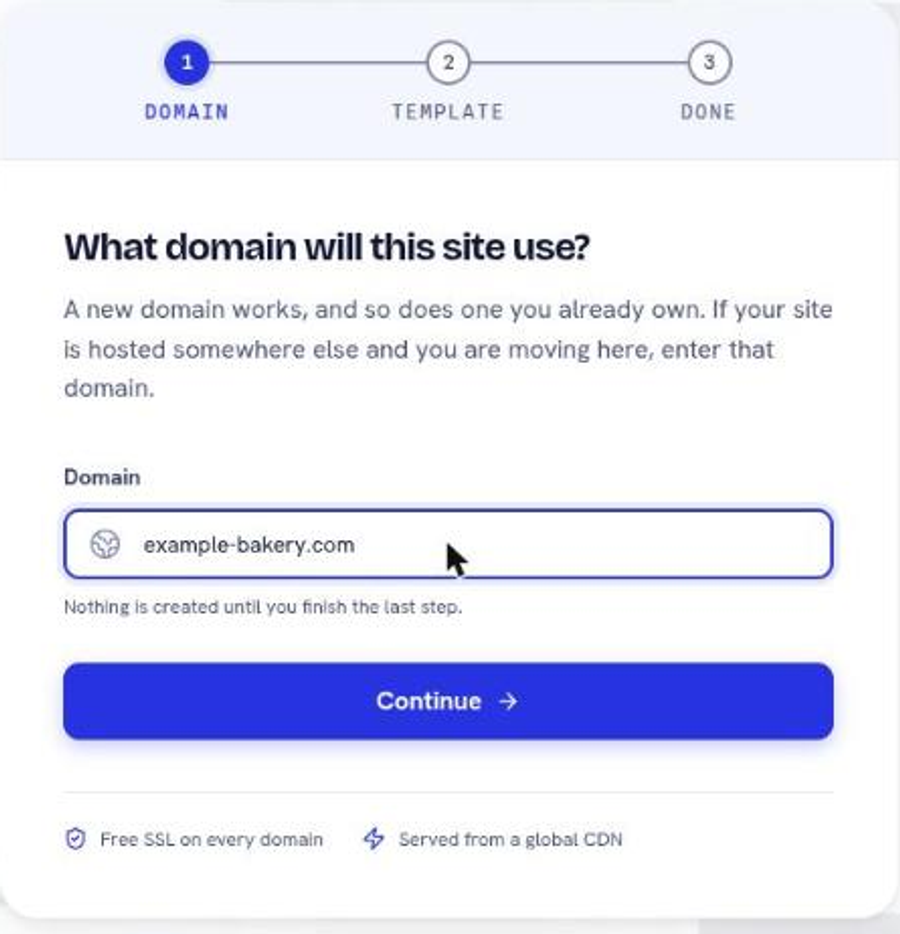
The domain field takes a root domain only. example.com is accepted, shop.example.com is refused with "Subdomains are not allowed. Please use root domain only". A domain with no top-level domain, such as example, is refused too.
Set the things every page inherits
The Console starts an eight-step tour the first time you open a new site. It walks the same path this page does, and Take the tour at the bottom of the sidebar replays it whenever you want.
Two screens decide how the whole site looks and how it describes itself. Doing them first saves redoing every page later.
Design, then Global Design Settings. Brand colors, fonts, and logo. Every page reads from here, so changing a color once changes it everywhere. Nothing on a page should carry a hand-typed color.
Settings, then Global Settings. Site name, domain, and language. These are what appear in the browser tab, in search results, and in the structured data search engines read.
Then Settings, then Social Media, for the profiles that render as icons across the site and get embedded in your metadata.
Build the first page
Content, then Pages, then the create button. Start with a Home page.
Once a page exists it still needs a route: Settings, then Page Map. The Page Map is the navigation structure and the list of addresses the site builds. A page missing from the Page Map has no address at all. Drag entries to reorder the menu.
Preview before anyone sees it
The Console will not let you publish live out of nowhere. Every edit becomes a pending change, and pending changes go to the preview site first.
1
Return to the site Overview.
2
Click Build preview. This builds every pending change onto a private preview address.
3
Look at the preview. On a phone as well as a laptop.
4
When the preview is right, click Publish live.

Publish live only appears once every change has been built. That ordering is the product refusing to let you skip the rehearsal.
What it costs
Building and previewing: nothing, no card. Publishing: 30 US dollars billed once for the first year, with a domain included, which is the 2.50 a month figure on the pricing page. Secure Sockets Layer (SSL) certificates and hosting are included and renew without you touching them.
What to do next
Read the Console tour to learn what each screen is for, then the visual editor to start changing pages.
Next
What every screen in the Console is for
A map of the sidebar, and how far each screen's changes reach.
Change a page without touching code
Add a block, edit it, style it. The three moves the editor is built around.
Build preview, then publish live
How an edit becomes a preview, then a live site, and what to do when a build fails.
Still stuck?
Send us the site name and what you were trying to do. A person answers, usually within one business day.